

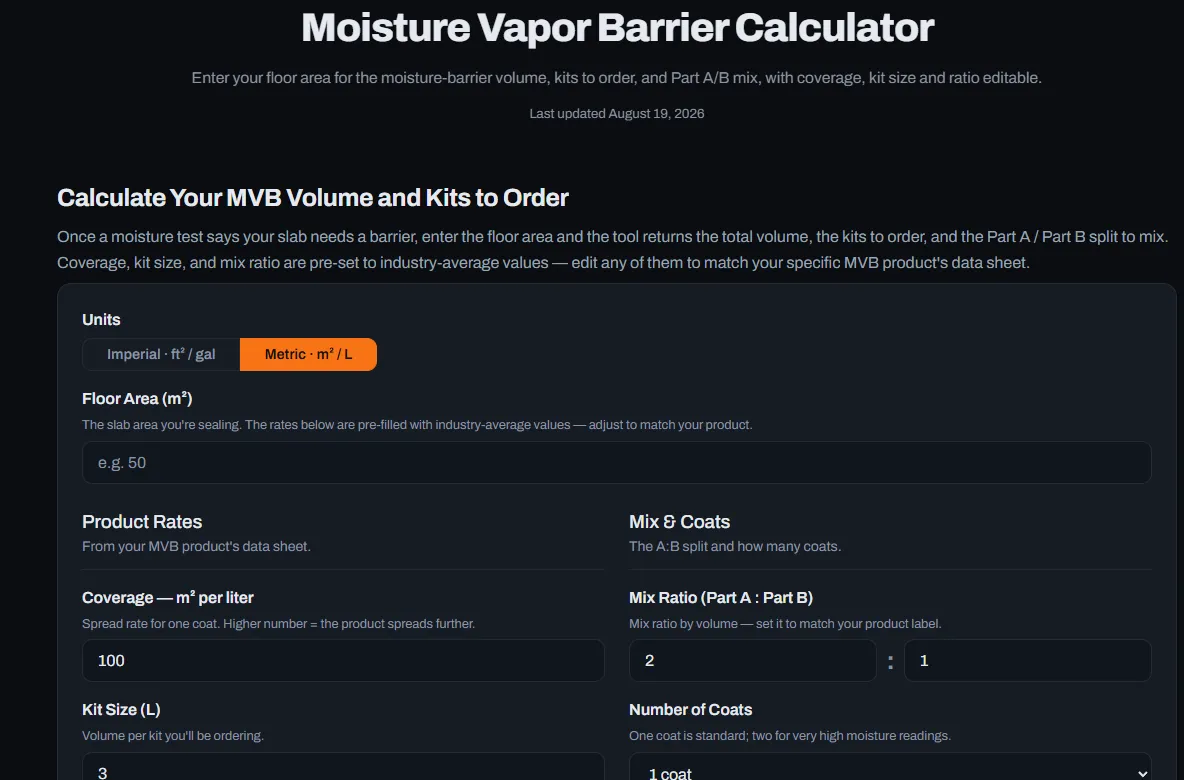
Coatings rarely fail because the product was bad. More often, moisture rose through the slab and pushed the finish off from beneath. A moisture vapor barrier calculator can help you judge whether a slab needs extra protection before work begins, yet the concepts behind the figures matter just as much. This article explains how moisture behaves in concrete and how to plan around it.
How Moisture Travels Through Concrete
Concrete is porous. Water in the soil moves upward through tiny capillaries, carrying vapor toward the surface where it can evaporate. When a coating blocks that path, pressure builds beneath the film.
Slabs poured without a proper vapor retarder are especially vulnerable. Older buildings, basements, and ground-level warehouses often fall into this category. Seasonal changes in groundwater can make the problem appear suddenly.
Testing Before You Coat
Simple tests give early warnings. A plastic sheet taped to the floor for a day reveals condensation, though it is only a rough indicator. For serious projects, calcium chloride kits and in-slab relative humidity probes provide measurable data.
Always follow the manufacturer’s testing method and limits. Readings vary with temperature and slab age, so test in several spots, including near walls and joints. Record results for your project file.
Interpreting the Results
Each coating has a maximum moisture tolerance. If readings exceed it, the slab needs treatment or a different system. Ignoring the numbers invites blistering, delamination, and expensive rework.
Borderline readings deserve patience. Wait for drier weather, improve ventilation, or use dehumidifiers if the schedule allows. If time is short, a moisture-mitigating primer may be the safer route.
Barrier Primers and Mitigation Systems
Special epoxy primers can block vapor transmission up to a stated limit. They are applied in controlled thickness and sometimes in two coats. Surface preparation must be thorough so the barrier bonds fully.
These systems are not magic. Extremely high moisture can overwhelm them, and the source may need to be fixed first. Drainage, gutters, and leaking pipes should be addressed before spending money on barriers.
Scheduling and Cure Considerations
Temperature and humidity affect how products cure. A polyaspartic cure time calculator can help you predict working windows and walk-on times at different temperatures, which is useful when planning multi-coat jobs. Use it as a guide, not a guarantee.
Always verify with data sheets and a test patch. Cool, damp mornings and hot afternoons can shift real cure times noticeably. Build buffer into your schedule so you are never tempted to rush the next layer.
Ventilation and Environmental Control
Air movement helps surface moisture escape and speeds drying. Fans, open doors, and dehumidifiers all contribute, but avoid blowing dust onto wet coatings. Position equipment thoughtfully.
Monitor conditions with a simple thermo-hygrometer. Dew point matters because condensation on a cold slab ruins adhesion. Keep surface temperature several degrees above dew point during application.
Documenting Conditions for Warranty
Record moisture readings, temperatures, and humidity at the start and during application. These notes show that conditions were suitable and help resolve disputes later.
Share the data with the client. It demonstrates professionalism and reinforces why preparation costs what it does. Good documentation turns potential arguments into confident, evidence-based conversations.
Conclusion
Moisture is a silent threat, but it is measurable and manageable. Test thoroughly, interpret readings honestly, use barrier systems where justified, and control the environment during application. Careful attention to what happens beneath the surface keeps floors intact for years.
For practical tools that support planning and estimating, visit tradeepoxy.com and explore the resources available.